Search This Blog

Showing posts with label main. Show all posts

Tuesday, April 3, 2012

Pork Loin and Mango Salsa

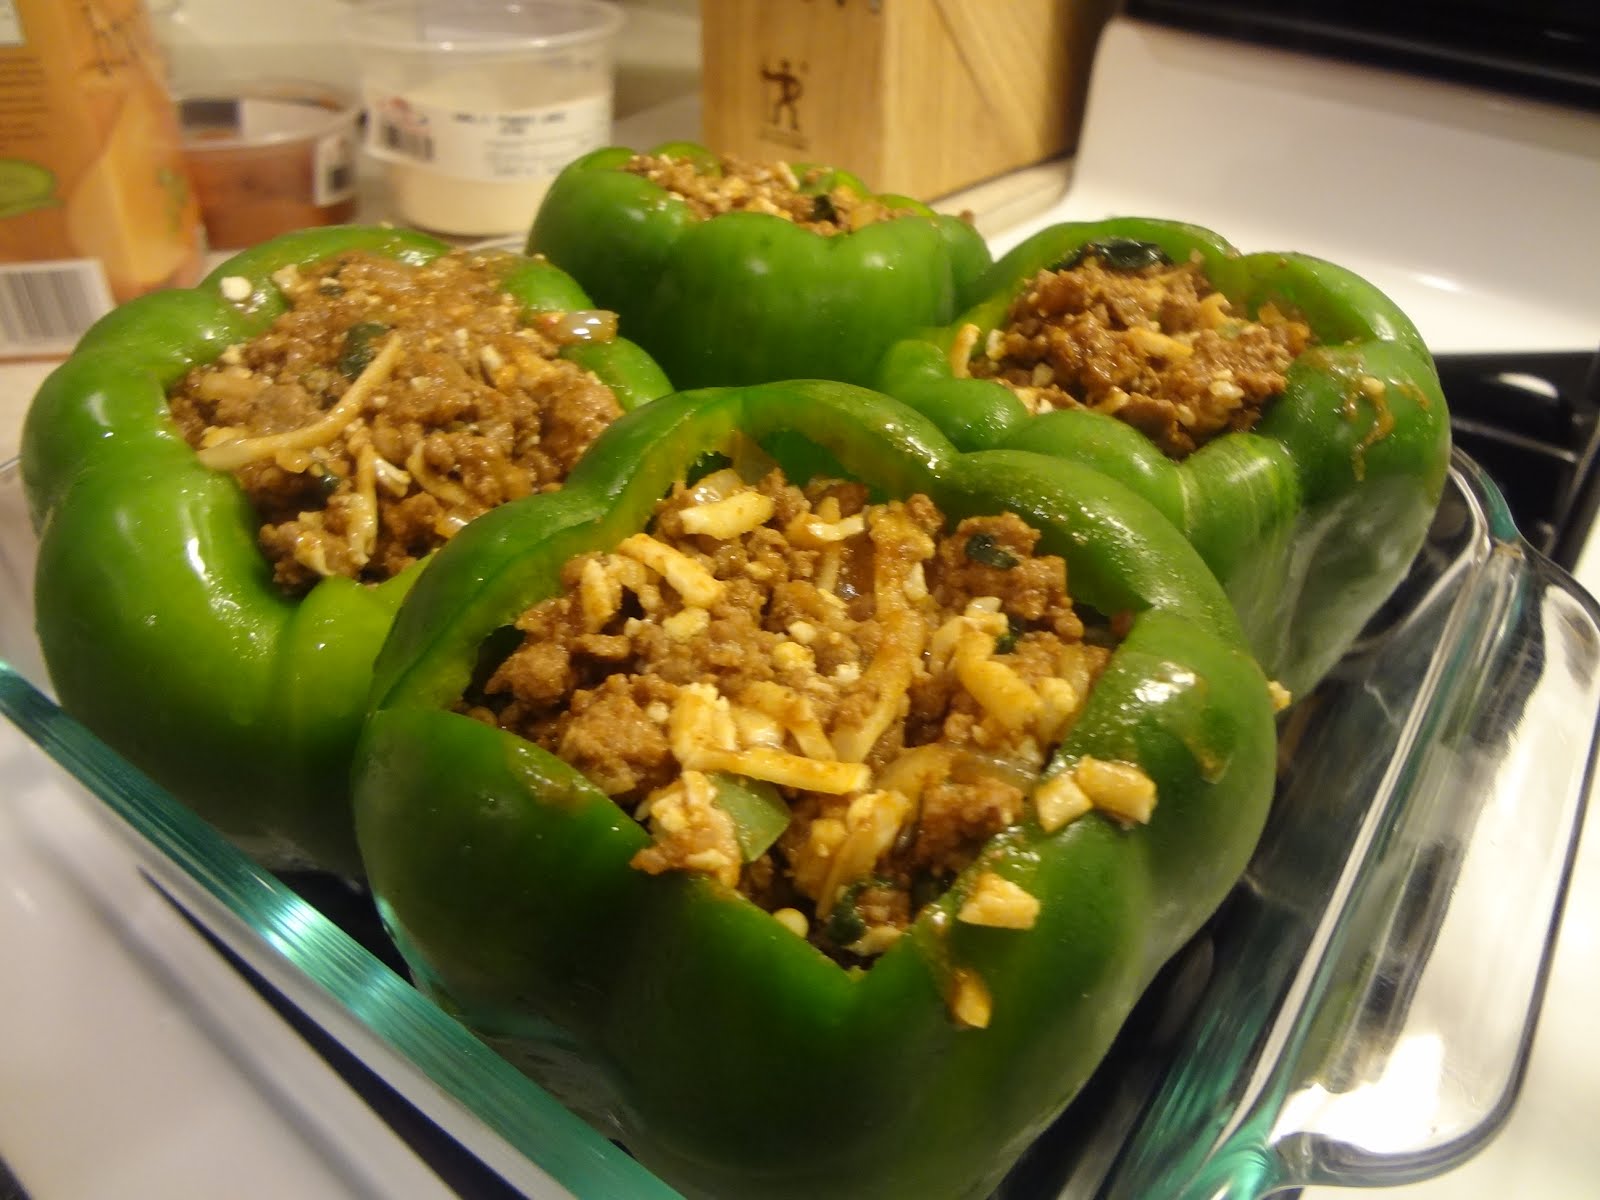
If you read the last post, you know that I have been grilling a lot lately. Today I marinated a pork loin and topped it with a mango salsa. Making your own salsa is ingenuous. It taste better, and it is half the price. If you don't have time for all the chopping, buy the ingredients ready to go. A lot of supermarkets are making it easy to prepare a quick meal. I know Publix and Trader Joes both sell pre chopped veggies. All you have to do is add the seasoning.


Now you have no excuse. The markets are begging you to cook! Try it out and impress yourself.

Need for Pork Loin

1 1-2 lb. pork loin
1/4 c. olive oil
1 capful vinegar
2 t. raw honey
juice of 1 lime
zest of 1 lime
1/2 shallot chopped
1 T. chopped fresh parsley
1 clove garlic chopped
1 t. smoked paprika
1 t. cumin
1 t. chili powder
Salt & Pepper

Need for Mango Salsa

1 red pepper chopped
1 mango chopped
1 jalapeno seeded and chopped
1 large tomato
1 scallion chopped
1/4 t. cumin powder
1/4 t. chili powder
1 T. cilantro (I used parsley)
juice of 1 lime
Salt & Pepper

Prepare

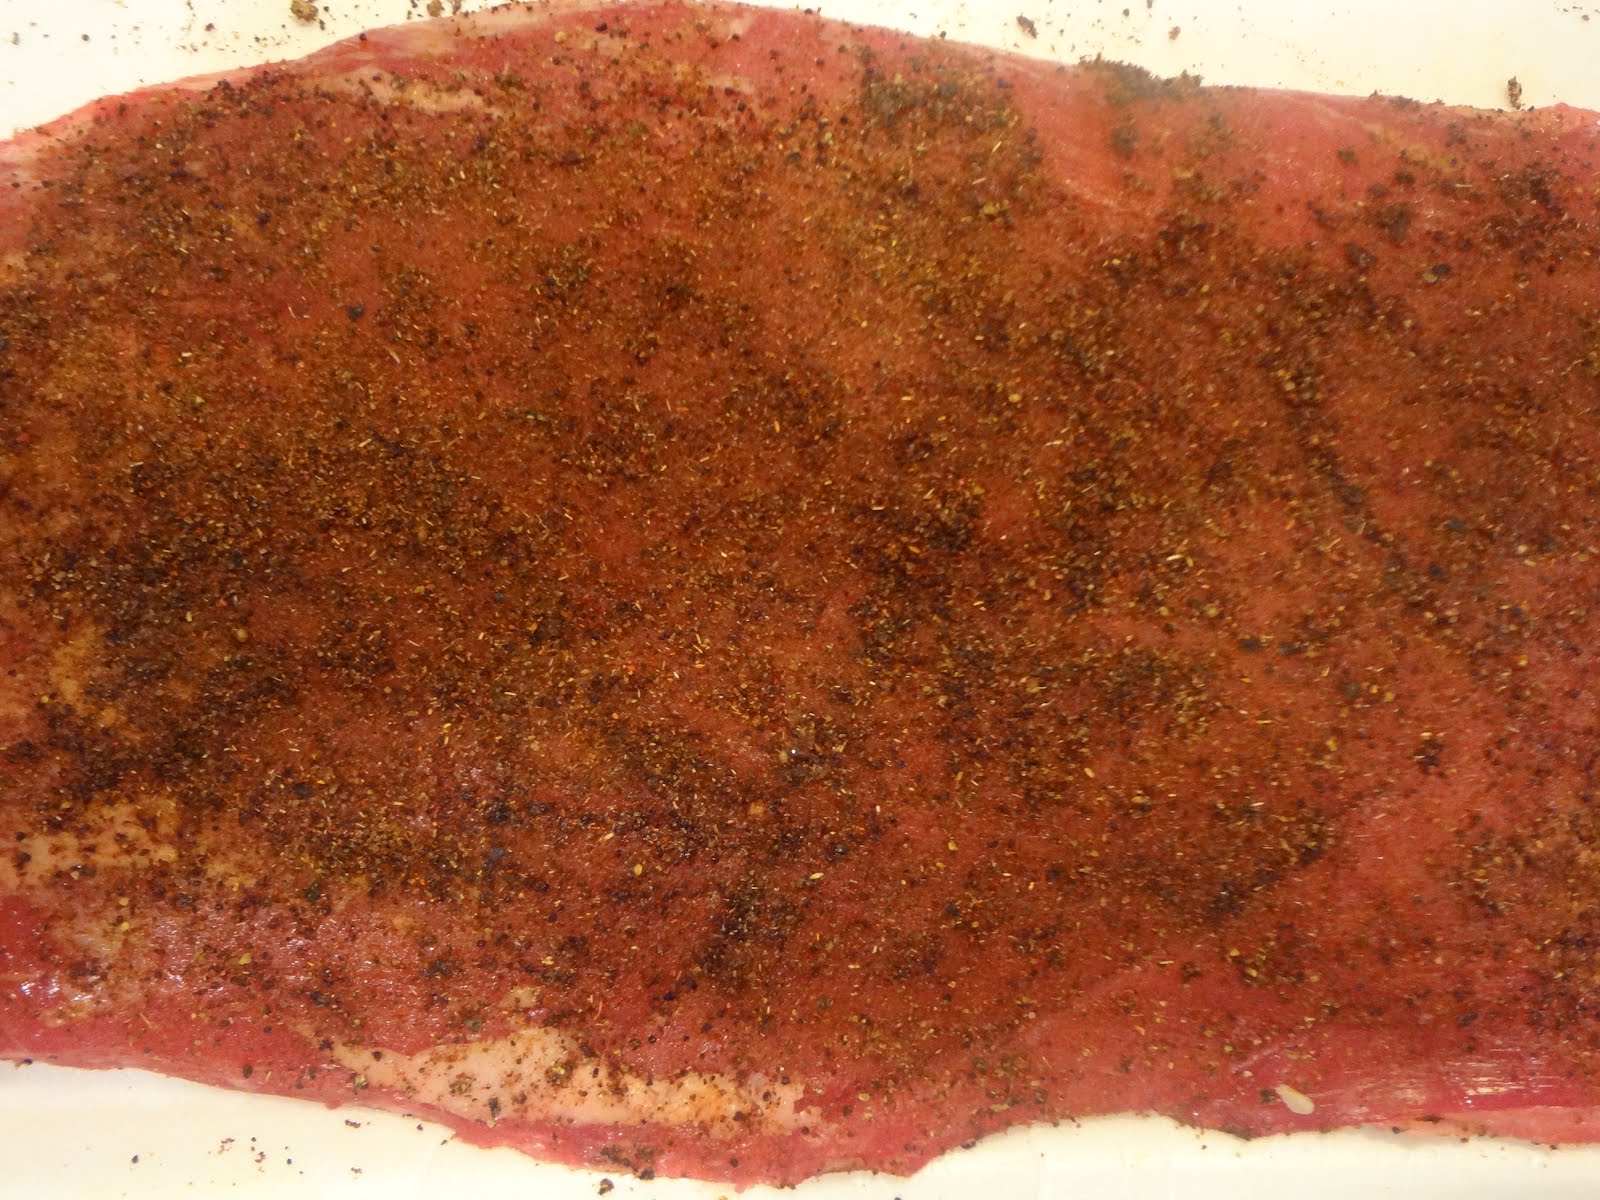
Salt and pepper the pork loin. Combine the paprika, cumin, and chili powder in a small bowl. Smother the pork loin in this dry rub.


Whisk together all of the liquids of the marinade. Fold in the chopped ingredient, salt and pepper, and mix. Place the pork loin in the marinade. Allow to marinate up to 24 hours.


Preheat the grill. Grill each side of the tenderloin approximately 7 minutes or until the internal temperature reaches at least 140 degrees F.


While the tenderloin is cooking prepare the salsa. Combine all of the salsa ingredients in a small bowl and let the flavors marry together at room temperature.


I served this tenderloin with some fresh spring vegetables.


Sunday, February 26, 2012

Stuffed Peppers


These peppers are great because you can sneak in extra vegetables and non-veggie eaters will not mind. Ben did not notice that I subbed shredded cauliflower for long grain rice and I added in a cup of fresh spinach. When making these yourself feel free to add your own favorite vegetables and meats. These stuffed peppers live up to their name and will leave you satisfied. Because of all the veggies and meat, you will not be hungry for hours!

Need for Peppers

5-6 large green peppers
1lb. grass fed ground beef
1/2 lb. chorizo
1 large shallot diced
1 jalapeno pepper seeded and diced
1 c. shredded cauliflower rice.
1 cup fresh spinach chopped
1 T. tomato paste
1 T. cumin
1 T. chili powder
1/4 t. garlic powder
1 C. chicken stock
Salt & Pepper

Need for Tomato Sauce

1 can organic tomato sauce
1 t. cumin power
1 t. chili powder
dash of hot sauce
pinch of cinnamon
Salt & Pepper

Prepare

Preheat oven to 350.

1. Cook the ground beef and chorizo on medium heat until most the meat is brown.2. In the same pan add the jalapeno pepper and shallot. Salt and Pepper
3. After about 4 minutes mix in the cumin, chili powder, and garlic powder.
4. Fold in the fresh spinach and cauliflower. (I shredded the cauliflower in the food processor before I started cooking.)
5. Add in 1/2 c. chicken broth and the tablespoon of tomato paste. Cook the mixture until the spinach if full cooked down and wilted.
6.. While the meat filling cooks, hollow out the green peppers. I find it is easy to cut a square at the top of each pepper. You can lift the top out by the stem and it usually takes the inside flesh and seeds with it.
7. Stuff each pepper with the mixture and place in a oven safe baking dish.


8. To prepare the sauce, combine all the sauce ingredients and cook on medium to low heat.
9. Pour a few spoonfuls of sauce over each pepper. Reserve half of the sauce for serving.
10. When all the peppers are ready, add 1/2 cup of chicken stock to the baking dish. Cover with foil.
11. Bake in the oven at 350 for about 1 hour. I like my peppers to be extremely soft. If you prefer your peppers to be stiff, take the peppers out of the oven sooner.


12. Serve with a spoonful of sauce on the top and go crazy by adding a spoonful of sour cream.

Thursday, February 23, 2012

Pork Chops

I heard that allowing meat to marinate in a brine hours before cooking makes the meat juicier when cooked. Why? I really do not know. You'll have to ask Alton Brown or these people. I used this website as a guide for my first experience with brining meat. I cooked pork chops the other day and they were juicy and flavorful. I created a glaze to brush on top for an extra punch. I'm going to investigate more about brining, until then try it out!

Need for Brine

4-6 1 inch thick boneless pork chops
2 bay leaves
2 cups chicken stock
2 cups ice
3 T. brown sugar
1/4 c. sea salt
2 cap fulls of apple cider vinegar
1 t. Peppercorns
Olive Oil

Need for Glaze

Juice of one orange
1/4 c. maple syrup
Pepper
Dash of Worcestershire sauce

Prepare

1. On medium heat combine the chicken stock, brown sugar, salt, peppercorns, bay leaves, and vinegar in a large stock pot.
2. Once everything is dissolved, remove from heat and add the 2 cups of ice.
3. When the mixture is cool (which should be quickly) add the pork chops.
4. Refrigerate from 2-24 hours. I was short on time, so I had the pork chops in the mixture for 4 hours.


5. When you're ready to cook, heat a small amount of olive oil in a stove top pan.
6. Remove the pork chops from the stock pot and pat them dry with a paper towel.
7. When the oil is hot, transfer the pork chops to the pan.
8. To make the glaze, simply combine all the glaze ingredients in a small dish. Add a dash of pepper.
9. Brush the top layer of the pork with the glaze. Continue to brush the glaze on the pork chops often as they cook.


10. Cook the pork chops on medium to medium high heat for approximately 7 minutes each side.
11. Brush the pork chops with the glaze one last time before serving.

I served my pork chops with roasted asparagus and broccoli.


Tuesday, February 7, 2012

Sweet Sauce and Spicy Sausage

Who doesn't like Italian food? Italian food is my favorite cuisine. Traditionally, it is also a cuisine that can sometimes leave me feeling bloated and sleepy. If you eat the warm buttery bread that is usually served before hand, that is pretty much your carb count for the day. I decided to omit the bread and exchange the pasta noodles for spaghetti squash. I also used tomatoes that had zero preservatives and no water or citric acid added. I made a basic tomato sauce and cooked spicy sausage and peppers to go over herb spaghetti squash. It sounds more challenging than it really is. It's a long post though, so grab the vino if you're still interested.

Need

Tomato Sauce
1 box Pomi Tomato Sauce
1 box Pomi Tomato
4 gloves chopped garlic
2 T. fresh chopped basil
1 T. fresh chopped parsley
1/4 t. bay leaves (or 1 whole bay leaf)
1/4 t. garlic powder
Olive Oil
Salt
Pepper

Sausage and Peppers
1 lb hot Italian sausage
1 yellow bell pepper cut into strips
1 red bell pepper cut into strips
1 green bell pepper cut into strips
1/2 large onion cut into strips
1 large glove of garlic
Olive Oil
Red wine

Spaghetti Squash
1 small yellow spaghetti squash
1 T. fresh chopped basil
1 T. fresh chopped parsley
1 T. Olive Oil
Salt (about 1/4 t.)
Pepper (about 1/4 t.)

Prepare

Start the tomato sauce right away. In fact, you can make the sauce a few hours ahead if you want the sauce to simmer longer. Add a few tablespoons of olive oil to a sauce pan and heat on medium. About a minute later, saute your garlic in the sauce pot and cook for 2 minutes. Add the tomato sauce, tomatoes, garlic powder, and herbs. Salt and pepper to taste. (I added about 1/4 teaspoon of each.) Simmer the sauce on low. If the sauce seems watery, take the lid off and it will start to thicken.

Cook the Italian sausage on medium heat in a large pan to brown on each side. Browning take about 4 minutes a side. Next, put a lid on the pan to allow the sausage to cook on the inside. It took approximately another 5 minutes for the sausage to be fully cooked. The internal temperature should reach at least 165ºF and there should be no pink.


Once the sausage is fully cooked remove them from the pan. Set the heat of the pan to medium-high. Throw in the peppers and onions. Add a large pour of red wine. I had pinot noir on hand, so that it what I used. Turn up the heat and allow the peppers to cook on high for 3 minutes. Bring the heat back down to medium, throw in a large glove of garlic, and cook until the veggies are tender. Slice the sausage while the veggies are cooking. Toss the sausage back in the hot pan a few minutes before serving.


There are several ways to cook spaghetti squash. I have had the most success when cooking it in the microwave. First cut the spaghetti squash in half. Using a microwave safe dish, place one half of the squash face down. Fill the dish with water so there is enough water to cover the bottom of the dish. Microwave on high for 6 minutes. Refill the water if needed and microwave on high for another 6 minutes. Prick the squash with a fork to check tenderness. If the outside cannot be easily pricked with a fork, cook for another minute. The squash will be extremely hot! Make sure you use a oven mitt to handle it. Repeat same process for other half of squash.


Using a spoon, scoop out the seeds inside the squash. Once the seeds are discarded, use a fork to scrape out the squash into a medium size bowl. The squash "noodles" should peel up easily. Toss in the olive oil, herbs, salt and pepper.

Finally, top the herb squash with a layer of tomato sauce, then the sausage and pepper mixture. To make it extra special add some fresh Parmesan on top.

It seems complicated, but it is worth it!

Thursday, January 26, 2012

Chicken Curry with Cauliflower "Rice"

This dish was quite a risk for me. I'm not a huge coconut or curry fan, but I was inspired by a recipe I pinned on Pinterest. I read a variety of curry recipes and adapted them to my taste. I was scared to have Ben try it because Thai is not on his list of favorite cuisines. What a nice surprise! We both loved it! It felt like we ordered Thai takeout. We were both impressed at how the cauliflower rice tricked our brains into thinking we were soaking up the juices with white rice. This is a new recipe added into our "favorites" rotation.

Need

1.5lb chicken breast
2 chicken legs
2 tbspn ghee
2 c. chicken stock
3 large gloves chopped garlic
2 tspn curry plus a pinch
1 c. unsweetened coconut milk
2 large carrots sliced
1 lb. green beans
1 red bell pepper chopped
1/4 tspn fresh ginger
2 tbspn fresh chopped basil
One large dried chili pepper- I used Guajilla
Salt and Pepper
Head of cauliflower

Prepare

1. Heat ghee in dutch oven pot on medium-high heat.
2. Liberally salt and pepper both sides of the chicken.
3. Brown the chicken on high heat for about 4 minutes each side. Transfer the chicken to a plate. You may have to brown in two batches.


4. There will be some juices and chicken pieces left in the pot. Pour 1/4 cup of the chicken stock to deglaze your pan. Reduce to medium heat.
5. Add the garlic, peppers, and carrots. Sprinkle with salt, pepper, and a pinch of curry. Cook for about 4 minutes.
6. Add the green beans and cook for another 3 minutes.


7. Return the chicken to the pot.
8. Put in 1 cup coconut milk, remaining chicken broth, and bring everything to a boil.
9. Season with curry powder, fresh basil, ginger, salt, and pepper.
10. Place the chili pepper in the pot.
11. Reduce to low heat and simmer for 2 hours. The chicken should pull apart.

Using your food processor shredding attachment, shred the raw cauliflower. You should end up with small pieces of cauliflower that resemble white rice. Heat the "rice" in a microwave covered with a damp paper towel for 2 min.


Serve the chicken curry over the cauliflower rice.

Tuesday, January 24, 2012

Fajitas no Tortilla

We enjoy Mexican food at least one time a week. There are not many Mexican dishes we will not eat. While cheese dip, chips, and enchiladas are yummy, we opted for a more "fit" Mexican dinner tonight. I grilled a flank steak, sauteed some peppers, and added guacamole. It definitely satisfied our craving and we didn't even add any cheese! Ben would be a happy man if I made this dinner at least once a week for the rest of our lives.

Need

2-3 lb. flank steak
1 tbspn chili powder
1 tbspn cumin
1 tspn ancho chili powder
1 tspn garlic powder
2 limes- juice and zest
4 tbspn olive oil + 2 more tbspn for cooking
1 red pepper cut into strips
1 green pepper cut into strips
1 orange pepper cut into strips
1 medium onion sliced
Salt
Pepper
Fresh made salsa of your choice
Guacamole

Prepare

Create the steak dry rub by combining the chili powders, cumin, and garlic powder. Drizzle a small amount of olive oil on both sides of the steak. Poor the remaining olive oil in a gallon size bag. Use this dry rub to cover the entire flank steak. There will be plenty left over, so save some for the peppers. Liberally salt and pepper both sides.


Add the juice of 1 lime into the gallon size bag with the olive oil. Zest the entire lime and add it to the bag. Place the rubbed meat into the bag, refrigerate, and marinate for at least 30 minutes.

When you're ready to cook the meat, heat a indoor grill pan and a tablespoon of olive oil on medium heat. Add the meat when the grill pan is hot. Allow the meat to cook on medium for about 8 minutes a side. Once each side is cook, flip again and cook for another 3 minutes each side. Flank steak will get tough if overcooked. We cook ours to medium-rare which has an internal temperature 130 to 135 degrees F. When the meat reaches desired temperature, allow it to rest for 5 minutes. If you cut the meat before, all of the juices will run out.


While the meat is cooking, add the peppers and onions to an oiled pan at medium heat. After about 4 minutes, add the juice and zest of one lime. Using the left over rub, add your desired amount to the peppers and onions. I added about 2 teaspoons. After I still had about 1 tablespoon of rub left over. Cook the peppers and onions on medium heat until soft.
(8-10 minutes)


Serve with fresh salsa and your favorite guacamole recipe!

Thursday, January 19, 2012

Three is NOT a Crowd Chili

They say "three's a crowd." Well, it is most certainly not in my Le Creuset pot! Cold days always inspire me to make a big pot of chili. There are many reasons why I love chili, but the main reason is that you can put anything in chili! This time I omitted the beans, but I made up for it by adding three different kinds of meat: ground beef, ground Italian sausage, and chicken apple sausage. The chicken apple sausage makes it for me! If there is enough veggies and meat in a chili, I don't even miss the beans.

Need


1 lb. ground mild Italian sausage
1 lb. grass fed ground beef
1 package Aidells Chicken Apple Sausage
1.5 c butternut squash peeled and cubed (about 1 small squash)
1 c chopped onion (about 1 medium onion)
2 celery stalks chopped
1 yellow pepper chopped
1 red pepper chopped
1 green pepper chopped
1 jalapeno seeded and chopped
1 large can of fire roasted tomatoes (organic if possible)
1 large can of tomato sauce (organic if possible)
1 c. beef broth
1 can water
3 heaping tbspn chili powder
1.5 heaping tbspn cumin
1 heaping tbspn ancho chili powder
1 tspn garlic powder
1 tspn salt
1 tspn pepper
1 bouillon beef cube

Prepare

Start by browning the Italian sausage and ground beef on medium heat in a large pot. While the meat is cooking, prepare your vegetables. When the meat is brown, add the squash and onions. Throw in a few pinches of chili powder, salt, and pepper while this is cooking. This will really bring out the flavor! Once the onions are translucent in color, add all of the peppers and celery. Cook for another 4-5 minutes.


Add the tomato sauce, fire roasted tomatoes, and beef broth to the pot and set to medium-high. Fill up the tomato sauce can with water to gather the extra tomato flavor and add to the pot. Once this mixture comes to a boil, add the chili powder, cumin, ancho chili, garlic powder, salt, and pepper. If you like your chili spicy, throw in a few pinches of cayenne pepper.


Simmer the chili as long as you can or at least 4 hours. The longer it simmers the better it taste. I usually make it the day before to serve the following night. Because the chicken apple sausage is already cooked, add the sausage about 30 minutes before you plan to serve.


Not into meat? Take out the meat, use vegetable broth instead of beef, and add beans and more vegetables likes zucchini and carrots. The flavor will still be good. If I wasn't trying to get rock hard abs, I would probably add a bottle of beer instead of the water too.(Apparently beer doesn't make rock hard abs though) Enjoy!